Lesson 1: Know your camera
Camera Basics
Introduction
In this module we start by going back to the basics. This is a great place to start whether you're either a beginner or more experienced photographer. It never hurts to have a refresher on the basics. In putting this program together I did all of the activities and found that they helped me too. There were things I had forgotten or never really understood as well as I thought I did – and I've been doing this professionally for well over 10 years.
So now on with lesson 1…and back to basics - get to know your camera!
In this lesson topic we are going right back to the basics.
The number one reason people sign up for this program (and all of my other courses and workshops) is to “get off Automatic". So while this may be stuff you already know, I hope it will be helpful for those of you who are beginner photographers and others who are yet to venture out of Automatic Mode. For the rest of you consider it a refresher!
So, in this lesson we're going to look at the Automatic mode and the alternatives – what they do, why you would use them and when you would not. At the end of this topic you will be able to decide on your preferred mode(s) and also in which situations you would switch modes.
Below are the modes that most compact cameras (point and shoot) and DSLRs have.
automatic scene modes
automatic
Auto mode lets your camera select shutter speed, aperture, ISO, white balance, focus and flash to take the best shot that it can. This mode will give you nice results in many shooting conditions, however you need to know that you're not telling your camera anything about the type of shot you're taking or what you want to achieve so it will be 'guessing'. It's clever, but not that clever!
portrait
When you switch to the portrait mode your camera will automatically select a large aperture which helps to keep your background out of focus (more on that in the following lessons). Portrait mode works best (as the name suggests) when you're photographing a single subject (person) so get in close enough to your subject (either by zooming in or walking closer) so that they fill much of the frame. Keep in mind that while you will achieve a shallow depth of field (blurry background) the camera is still deciding how much blur and you have no control over this in portrait mode.
macro
Macro mode lets you move your camera closer into your subject and focus to take a close up picture. It's great for shooting flowers, insects or other small objects. Different cameras will have macro modes with different capabilities including different focusing distances – how close you can be and still focus – (check your camera manual for more info).
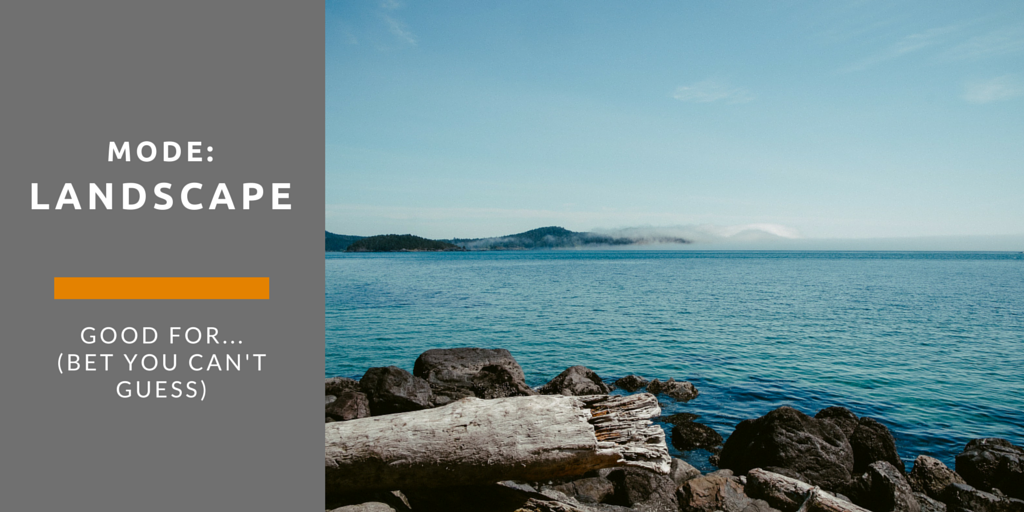
landscape
This mode is almost the exact opposite of portrait mode in that it sets the camera up with a small aperture to make sure as much of the scene you're photographing will be in focus as possible (ie it gives you a large depth of field). so it's ideal for capturing shots of wide scenes. As with portrait mode, keep in mind that while you will achieve a wide depth of field (d.o.f.) the camera is still deciding how much d.o.f. and you have no control over this.
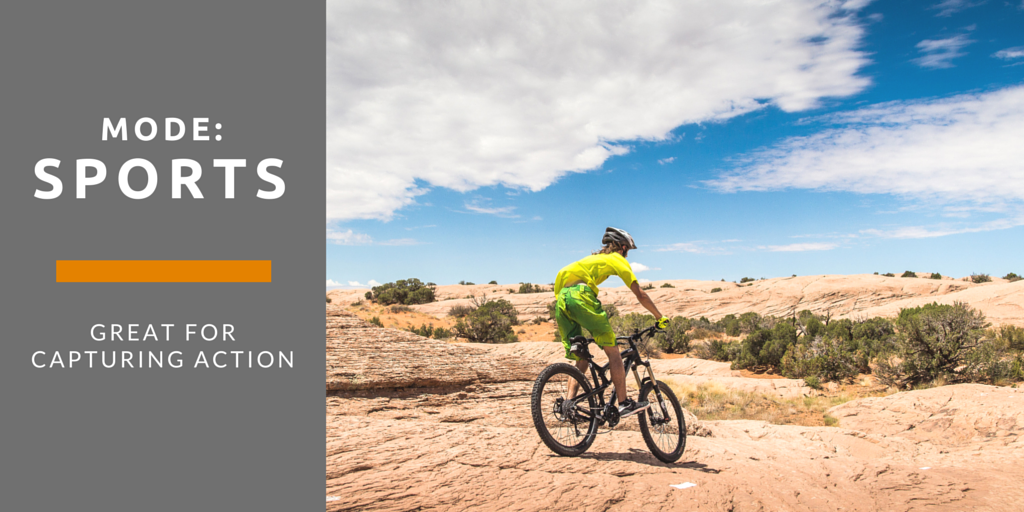
sports
Sports mode is designed for photographing moving objects. It's called 'action mode' on some cameras. It is ideal for photographing any moving objects including people playing sports, pets, cars, wildlife etc. Sports mode attempts to freeze the action by increasing the shutter speed.
night
This mode can be fun to play around with and can create some interesting shots. Night mode (a technique also called 'slow shutter sync') is for shooting in low light situations and sets your camera to use a longer shutter speed to help capture details of the background but it also fires off the flash to light up the foreground (and the subject).
movie
Most new digital cameras have a movie mode that records both video and sound. The quality is generally not up to video camera standards but it's a handy mode to have when you come across that perfect subject that just can't be captured with a still image. Note: this online workshop does not cover video.
other settings
Your camera may also have some of the other, less common, modes that include:
Panoramic – for taking shots of a panoramic scene to be joined together later as one image.
Snow – to help with tricky bright lighting at the snow
Fireworks - for shooting firework displays
Kids and Pets – fast moving objects can be tricky – this mode speeds up shutter speed and help reduce shutter lag (that delay between when you press the shutter and the camera actually takes the photo) with some pre-focusing
Underwater – underwater photography has it's own unique set of exposure requirements
Beach – another bright scene mode
Indoor – helps with setting shutter speed and white balance
Foliage - boosts saturation to give nice bold colors

semi automatic modes (often called creative modes)
aperture priority (A or AV)
This mode is a semi-automatic (or semi-manual) mode where you choose the aperture and your camera chooses the other settings (shutter speed, white balance etc) to ensure you have a well balanced exposure. Using aperture priority with a large aperture (small number – more on that later!) gives you similar results to the portrait mode but with more control over the amount of blurriness in the background. This mode can also be used in a similar way to the landscape mode by using a small aperture to give a wide depth of field (the background is in focus). Aperture priority mode is useful when you're looking to have control over the depth of field in a shot.

emphasise the main subject by blurring the background using portrait mode or aperture priority with a large aperture (small f number)
shutter priority (S or TV)
Shutter priority is very similar to aperture priority mode but you select a shutter speed and the camera then chooses all of the other settings. You can use this mode where you want control over motion/action in your photos. For example when photographing moving subjects (like your kids running and playing) you would choose a fast shutter speed to freeze the motion. On the other hand you might want to capture the movement as a blur (e.g. a waterfall) and choose a slow shutter speed.

capture (and stop) the action using sport mode or shutter priority with a fast shutter speed
program (P)
Some cameras have this mode in addition to the Auto mode. In those cameras that have both, Program mode is similar to Auto but gives you a little more control over some other features including flash, white balance, ISO etc. Check your camera's manual for how the Program mode differs from Automatic in your camera.
fully manual mode
manual
In this mode you have full control over your camera and need to think about all settings including shutter speed, aperture, ISO, white balance, flash etc. It gives you the flexibility to set your shots up as you wish. This lesson will not cover the Manual mode as this is for more advanced lessons later.
Note: If you have a compact camera you may only have some (not all) of these modes – it's OK. By following these lessons you'll learn to use what you've got to get the best results!.
Remember
Auto: you have no control - the camera controls everything
Aperture priority: you set the aperture and the camera controls everything else
Shutter priority: you set the shutter speed and the camera controls everything else
Manual: you have total control - the camera controls nothing

! Remember check your camera instruction manual if you don't know how to change settings – all cameras are different !

|
If you have a DSLRactivity 1:1. Set your camera to each of the Automatic modes and take a photo 2. Review your images:
activity 2:1. If your camera is set to Auto ISO turn it off 2. Turn off your flash 3. Set your camera to each of the Semi Automatic (Creative) modes and have a play (Note: lots more on how to use these modes coming up in the next few lessons so don't worry if you're not sure at this point – just do your best!) 4. Take a picture 5. Review your images:
|
|
|
If you have a compact camera
|
Bonus activity: If you found this all too easy...
activity 1: “nail it!"
1. Decide beforehand what you are trying to achieve with your photo
2. Set your camera on the mode that will achieve it
The aim of this activity is to have a vision for what you want to achieve, know which mode to be in to achieve it and then to “nail it"
3. Continue to take photos until you achieve what you set out to achieve (change modes if necessary)
4. Continue to take photos until you have photos you LOVE
Now you decide!
Which are your preferred modes?
When would you use them?
FYI: as a child photographer, I spend 70% of my time in Aperture priority, 20% in Shutter priority
and 10% in Manual
want feedback?
Post your favourite images from the assignments in the comments below. Feedback will be given on up to 4 images but feel free to upload more if you like.
Please post each image in a separate comment and describe particulars about this image and what you were specifically trying to achieve with it. Include camera settings used to allow for more effective feedback.
IMPORTANT NOTE: Image files larger than 2MB may not upload! (Optimal size for images is 600-800 px on the widest side)
while you're waiting for your feedback...
Check out other images submitted by students and comment and give (constructive) feedback. The more we share the more we will all get out of this course! This is a reminder to be an active member of this community and help others to learn! Give and you will receive!
Frequently Asked Questions
Q: I have a compact camera, should I consider buying a DSLR?
A: A compact camera with the ability to change the aperture, shutter speed, ISO etc will give you great results. The major advantage of a DSLR is the ability to change lenses to suit particular situations. A DSLR will also tend to give you more settings to allow you to better control your results. However, if you have a compact camera use it for a couple of lessons and if you feel you want more control, then consider an upgrade.
have questions?
Ask below or send us an email if you wish to keep your question confidential. During our business hours we will also have live chat available. If you see the blue chat box in the bottom right hand corner you can ask your question there.
have feedback?
We aim to make this course the best it can be so we'd appreciate any feedback you might have on this Lesson. You can either drop us a line by email or comment below.

finished this topic?
Click Complete and Continue in the top menu bar to move on.